Thanks to Jonath who gave me permission to translate his blog post.
This guide has been tested in Fedora 9 and 11.
—
1. Downloading the Drivers
Download three archives from link1, link2, and link3, and extract them. (Right click and choose Extract here, or use whatever commands you like to extract them.)
In the extracted archives, you will see some packages (.rpm and .deb) or other archives that may not be needed.
—
2. Installing the Drivers
Using GUI:
Double click the following packages, and authenticate installation using root password.
- cnijfilter-common-2.80-1.i386.rpm (from link1)
- scangearmp-common-1.10-1.i386.rpm (from link2)
- scangearmp-mp140series-1.10-1.i386.rpm (from link2)
- cnijfilter-mp140series-2.80-1.i386.rpm (from link3)
Using Command Line:
- Login to root using su
- Enter the following four commands
rpm -ivh scangearmp-common-1.10-1.i386.rpm
rpm -ivh scangearmp-mp140series-1.10-1.i386.rpm
rpm -ivh cnijfilter-common-2.80-1.i386.rpm
rpm -ivh cnijfilter-mp140series-2.80-1.i386.rpm
Another way is to use sudo before every rpm above, if you don’t like using su.
—
3. Configuring and Testing the Printer
Make sure that your printer is plugged in to your computer and turned on.
- Go to System > Administration > Printing.
[screenshot] - Right click on MP140-series and choose Properties.
[screenshot] - Click the Change button on Make and Model.
- Wait for the new window to load a list of printers.
- Select printer from database, choose Canon, and click Forward.
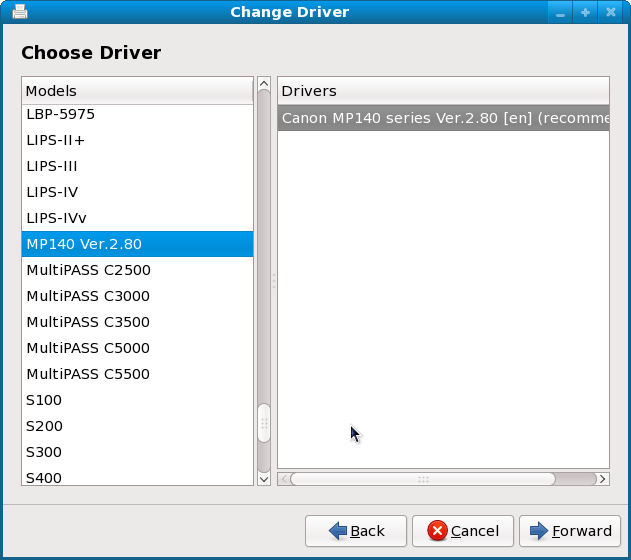
[screenshot] - Choose MP140 Ver 2.8 as the printer model, and click Forward.
[screenshot] - Choose Try to copy the option settings over from the old PPD. After that, click Apply.
[screenshot]
You can print a test page to test the printer.
—
4. Testing/Using the Scanner
The scanner driver only works in GIMP.
In GIMP 2.6.6, choose File > Create > ScanGear MP.
In some older versions of GIMP, choose File > Acquire > ScanGear MP.
